
Last month we released our new Sympli for Adobe XD CC App, which helps UX designers export their designs from Adobe XD to Sympli for a smooth designer>developer handoff. In Part 1 of 2 of this Adobe XD series, we'll learn about lean UX and low-fidelity prototyping as we familiarize ourselves with Adobe XD CC, and then the Sympli for Adobe XD CC App.
———
Your idea might suck. And the one after that, and the one after that as well. When brainstorming ideas there can be a lot of oversight because we're often more concerned with how it'll look once it's on the web or in the app store. We need to employ a lean UX workflow if we want to build something that users want, and tackle the holes in the UX efficiently.
As they say…
"It's the pace, not the race."
What is Lean UX?
Lean UX is an approach to design where we take smaller but shorter steps towards building an MVP (Minimum Viable Product). We use feedback to identify holes in the UX and drive the next iteration, collecting flaws to be fixed gradually rather than all at once. It's a collaborative effort.
Because Sympli now is now able to interpret design files from Adobe XD, we thought it time we finally learn how to use Adobe's flagship app for designing user interfaces. We'll learn about low-fidelity prototyping, adding interactions, and sourcing feedback from stakeholders using the Adobe XD app and the Sympli for Adobe XD CC app. Later on, in Part 2 of 2, we'll learn about high-fidelity prototyping with Adobe XD and dive deeper into exporting designs to Sympli for design handoff. Note: if you're an XD wizard and you just want to see how the Adobe XD/Sympli integration works, click here.
Low-Fidelity Wireframing
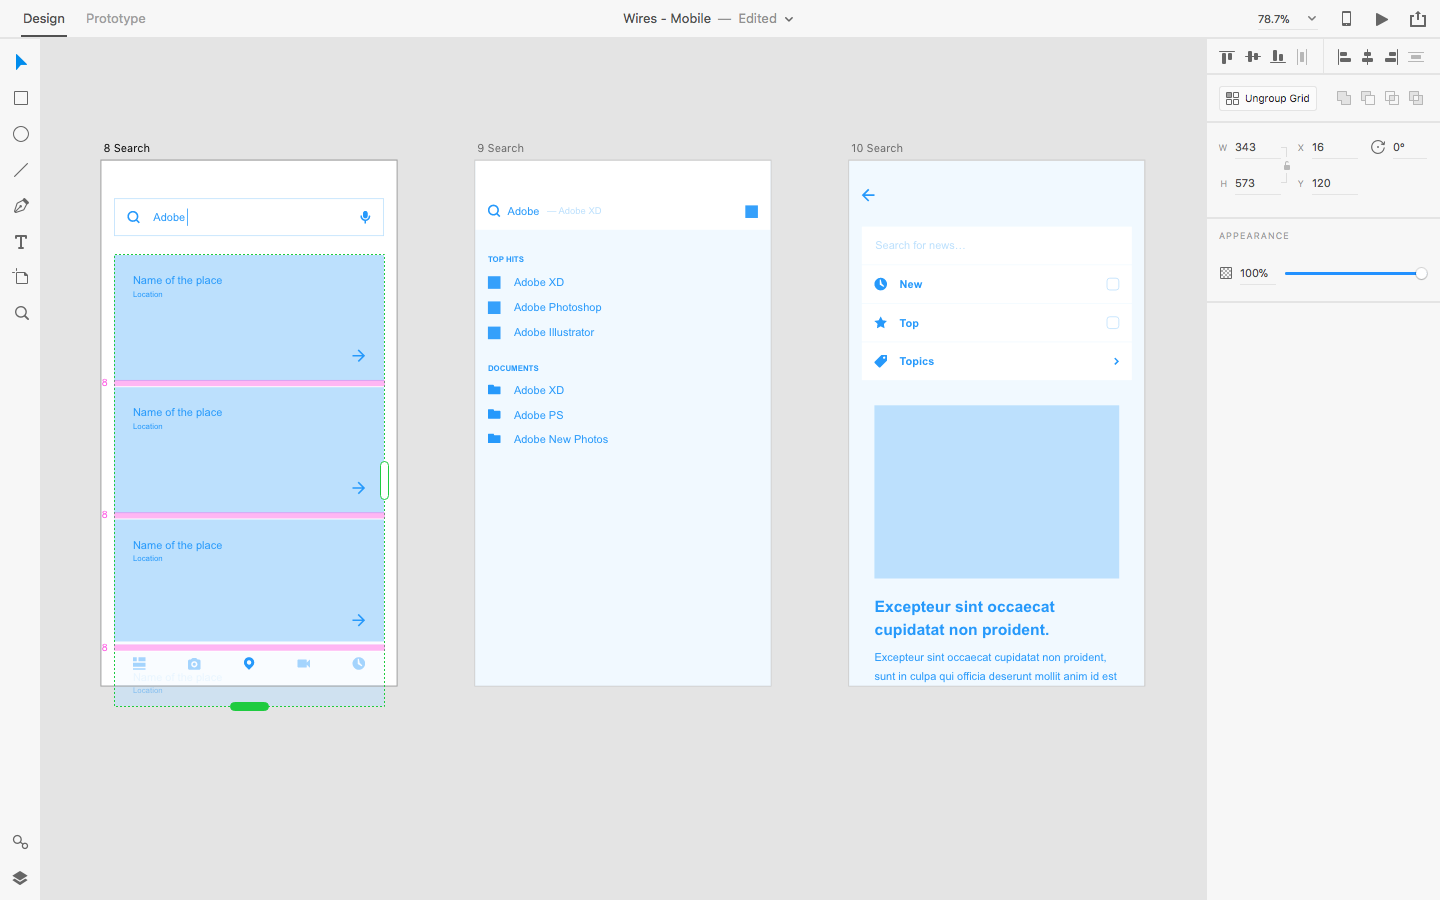
What is low-fidelity prototypynig? First, we'll need to use text and shapes to mockup our idea roughly and quickly (although images are fine if they add more context to the design where it would otherwise look too vague). Most design tools, Adobe XD included, have their toolbar on the left-hand side, so I'm sure you'll find wireframing and low-fidelity designing and prototyping with Adobe XD a breeze (even if you're new to it). Familiar keyboard shortcuts like "R" for Rectangle are fairly standard too.

If you need to tile a component horizontally or vertically, select the Object from the Layer List and click "Repeat Grid" from the Inspector on the right-hand-side, or use cmd + R (Ctrl + R in Windows). After that, move the draggable handles to horizontally or vertically tile the objects—this is a speedy and super-convenient way to tile repetitive components, rather than duplicate them manually. Also, if you make changes to one tile, those changes are reflected in all of the other tiles as well. It's tools like this that make lean UX such an efficient workflow.
Remember, at this stage we just want to validate our idea with feedback.
Adding Interactions
When you have your wireframe mapped out (it doesn't have to be the entire wireframe, just the general idea!), switch to the Prototype workspace by clicking "Prototype" in the top-left corner. Next, select tap targets from the wireframe and seize their draggable handles (they'll be blue this time) to create a connection between the tap target and the screen it's supposed to link to.
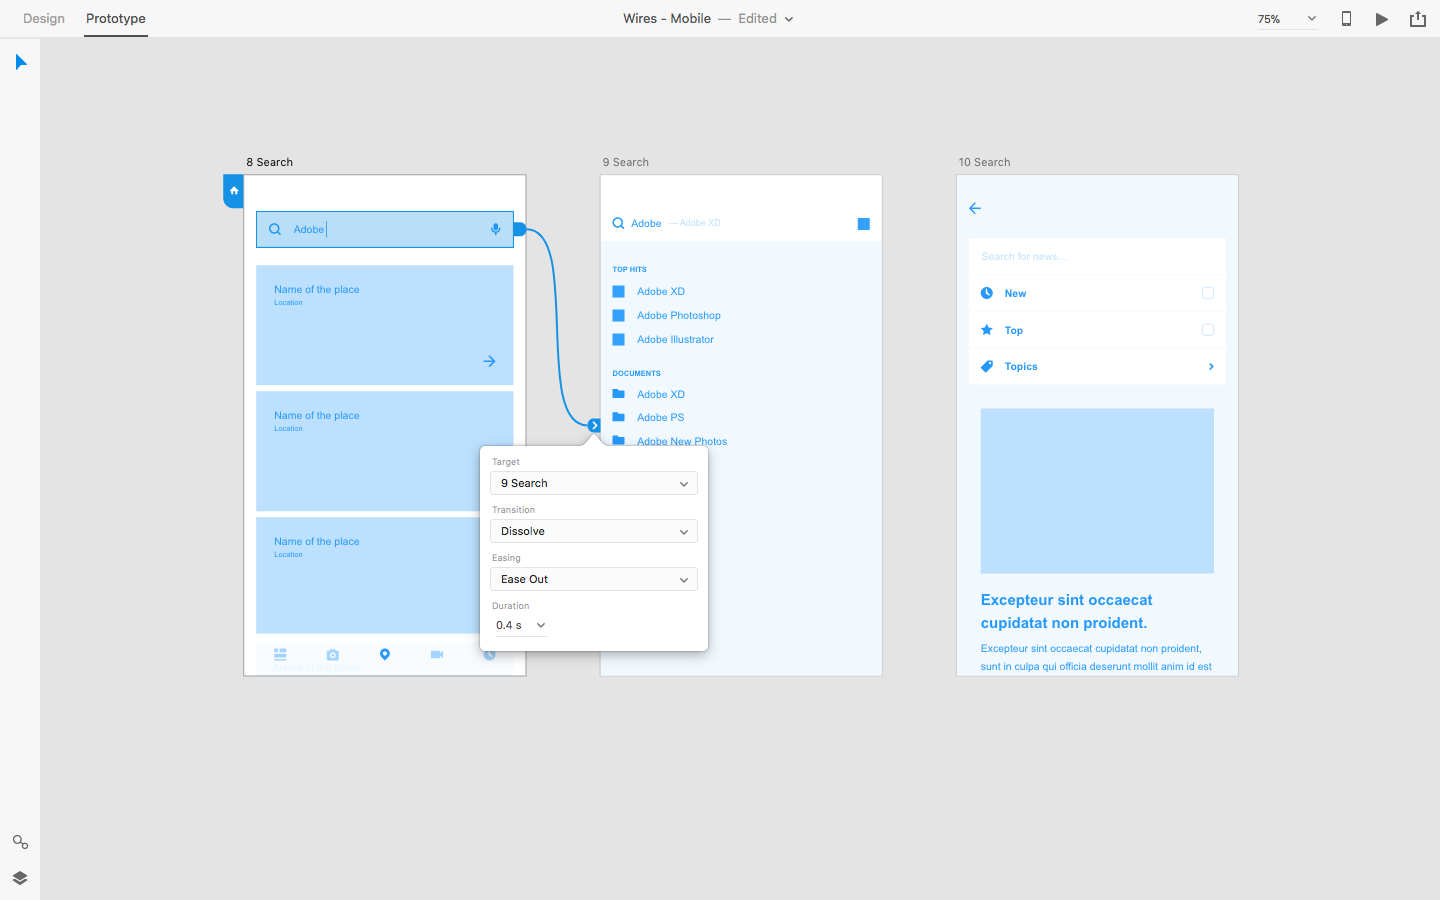
You could take it a step further and clarify the "Transition", "Easing" and "Duration" settings from the modal that appears once you've created the user flow, although this isn't strictly required for low-fidelity prototyping. As mentioned before, we only want to see if our idea is on the right track, and quickly receive some feedback on it. We want something that we can test.
Desktop Preview
Next, we'll want to test the interactions and identify any obvious flaws in the UX before allowing others to weigh in (we don't want to waste their time). Hit the play icon in the top-right corner to open Desktop Preview, where you'll be able to navigate the prototype with clicks.
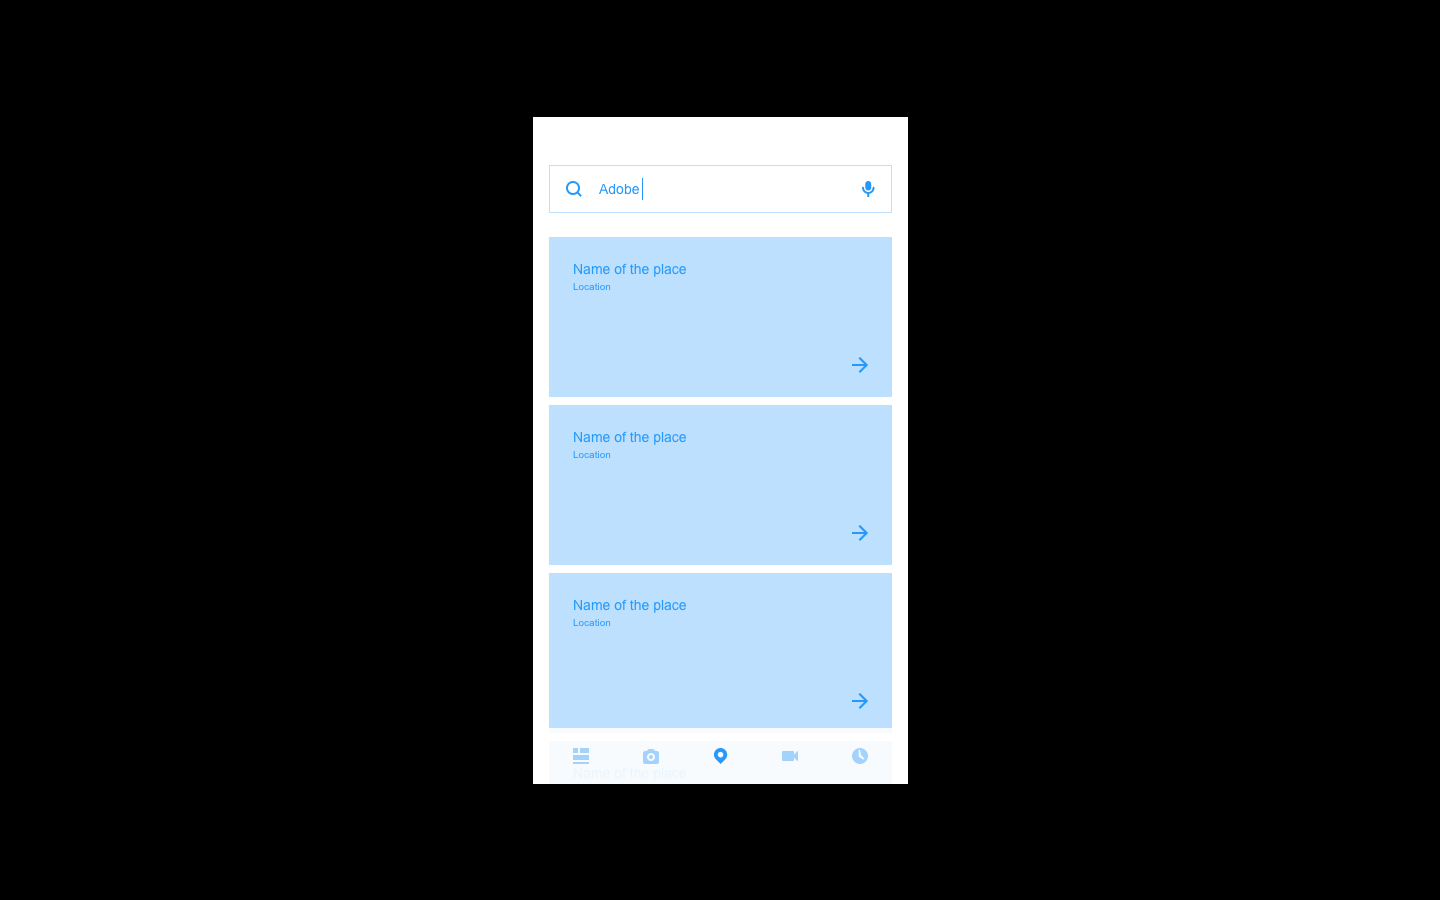
You can easily switch back and forth between the Design and Prototype workspaces with cmd+Tab (or Ctrl+Tab in Windows). All of the interactions will remain active even if the tap target has moved, and even if the design has been handed off via Sympli already.
How does it look? Good? Okay, next step.
Device Preview
By hitting the device icon (next to Desktop Preview), we can initiate a test on our actual handheld device, as long as we have the mobile app (iOS/Android) installed on our device.
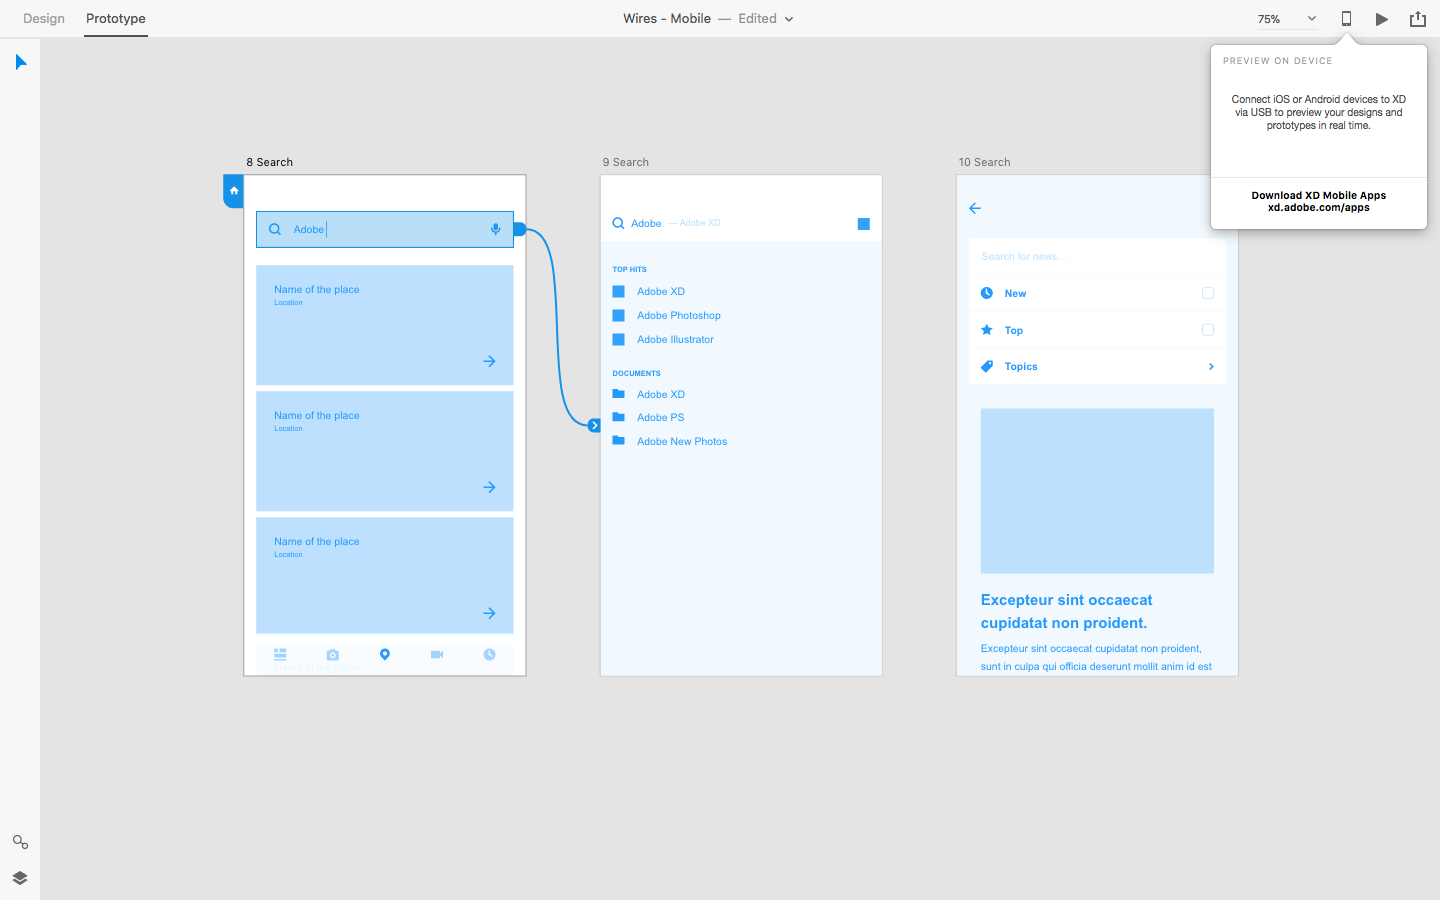
Just make sure to have the mobile app open when you hit the icon!
Remember, websites and apps designed for mobile devices are navigated using thumbs, so they should be tested with thumbs. Doing this will allow you (and clients and stakeholders) to offer realistic feedback on how the app or website works in terms of usability and accessibility.
Getting Feedback
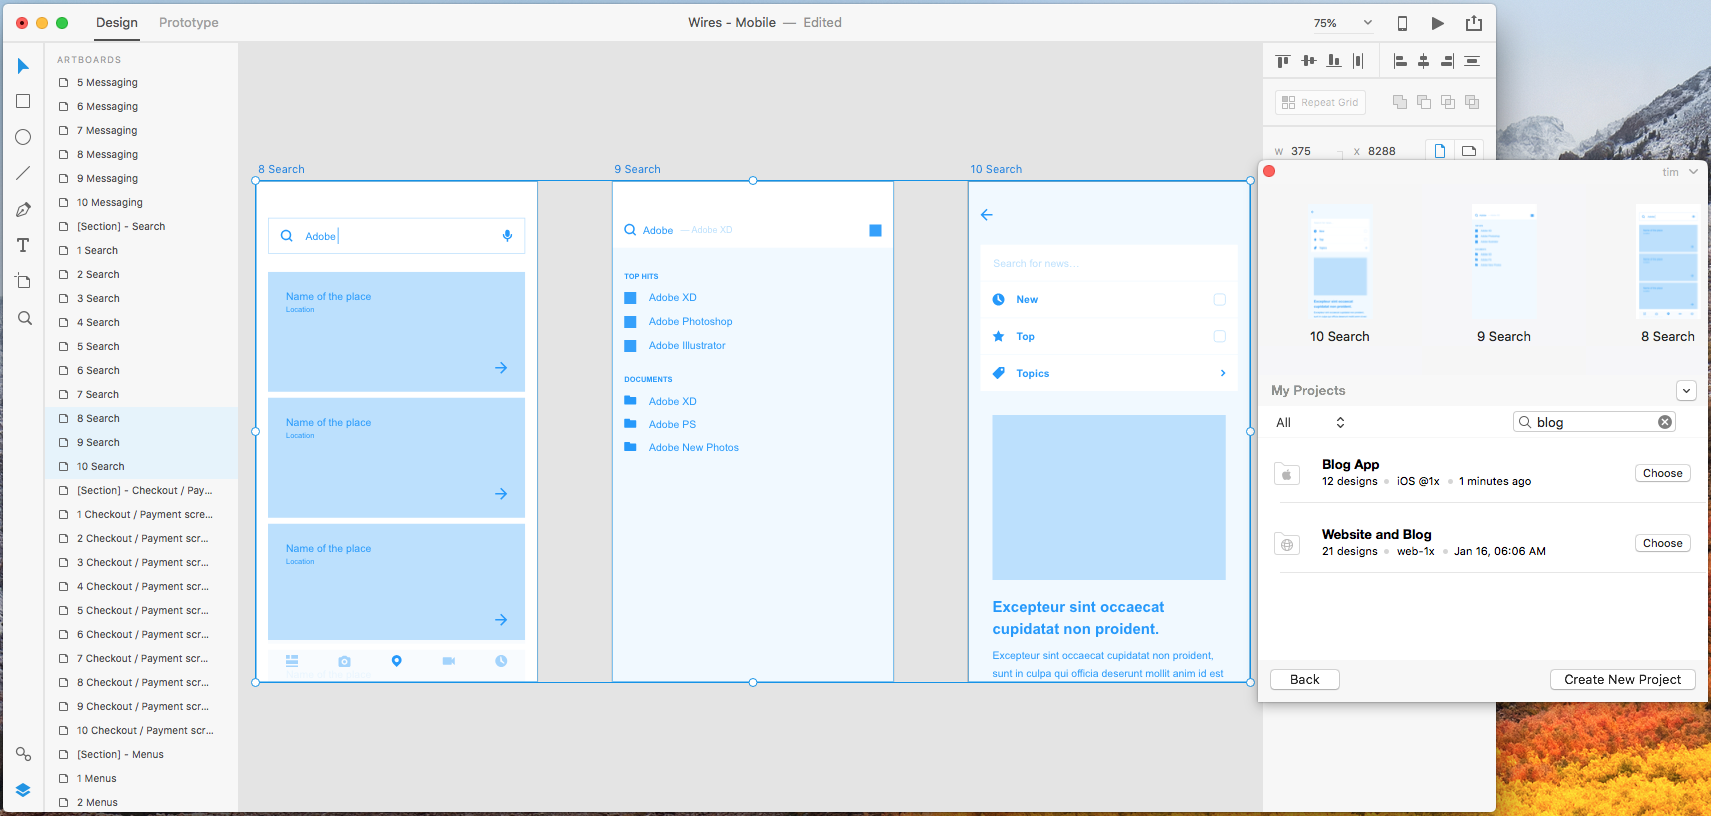
When you're sure that the prototype is ready for feedback, you can export the design to Sympli and gather comments and feedback as well as have other stakeholders test the design through Sympli's review mode. To export to Sympli, choose File > Export > Sympli or hit Alt+Cmd+E and follow the instructions to export. (Learn how to export designs from Adobe XD to Sympli).
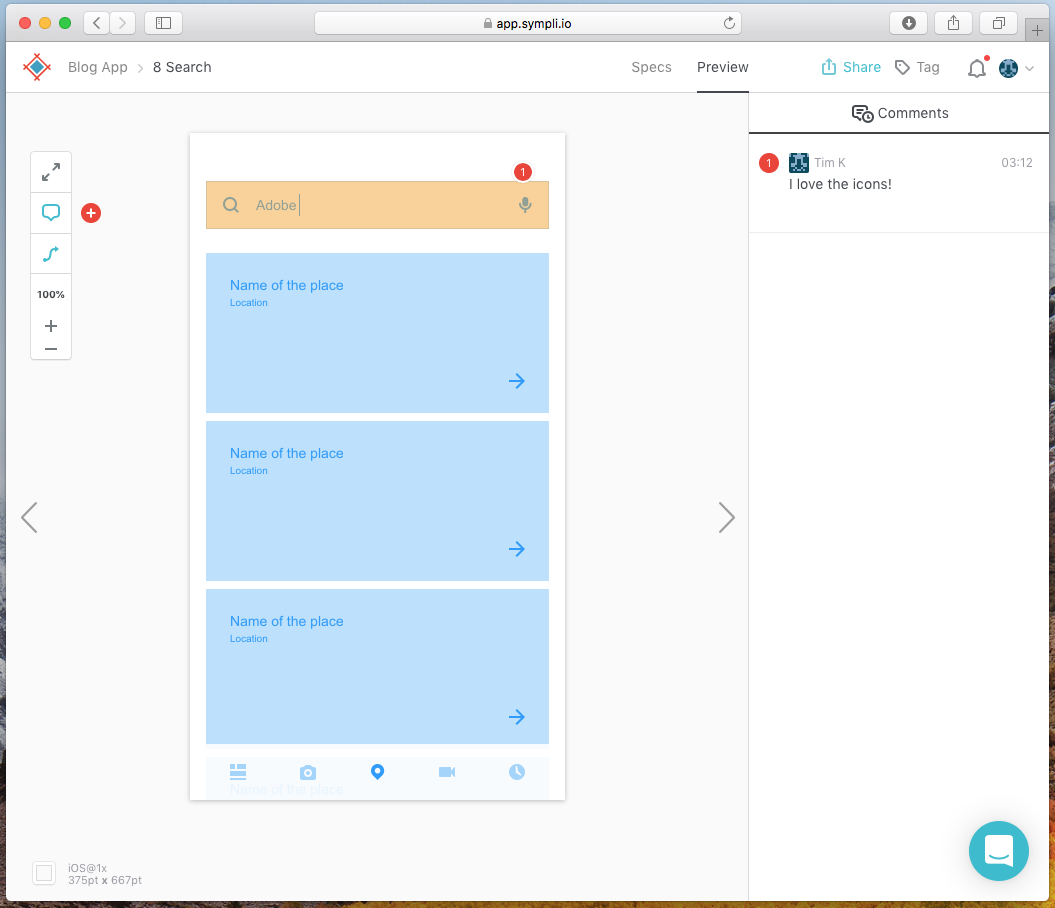
Once you've exported, any of your collaborators can open the project in Sympli and view the design, navigate through the prototype, and make comments and annotations on the design. And, with Sympli's new read only and read and comment only roles, you can make sure stakeholders can focus on the prototype and have the ability to review and comment quickly and easily.
Note: Adobe XD does include some design collaboration features, but by using Sympli you can have a single solution for DesignOps from ideation through build with collaboration and commenting layered on top.
We'll dive deeper into how to use the Sympli for Adobe XD CC app in Part 2 of 2 of this Adobe XD series. Curious to see how it works now? Read our tutorial.
Conclusion
A lean UX process allows us to draw conclusions quickly by creating a wireframe-style MVP that we can request feedback on. We can repeat these steps over and over as we move closer towards creating the final design, adding more fidelity and feedback with each iteration. By using Adobe XD and Sympli together, you can track each and every version of your designs, streamline and automate specification generation and handoff, integrate with QA and much more.
Not using Sympli? Start your free trial today and see how it can improve your design processes and help you reduce digital product development cycles.